FOLLOW MALARKEY
SHARE
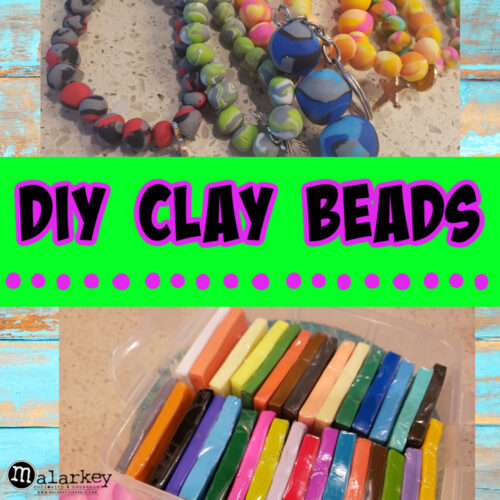
DIY Christmas Gifts Pt. 2- Beads
——————————
Hey everyone! Tiny here, back with Part Two of DIY Christmas Gifts! Remember to like, share, and subscribe so you can see blog entries like this every day!
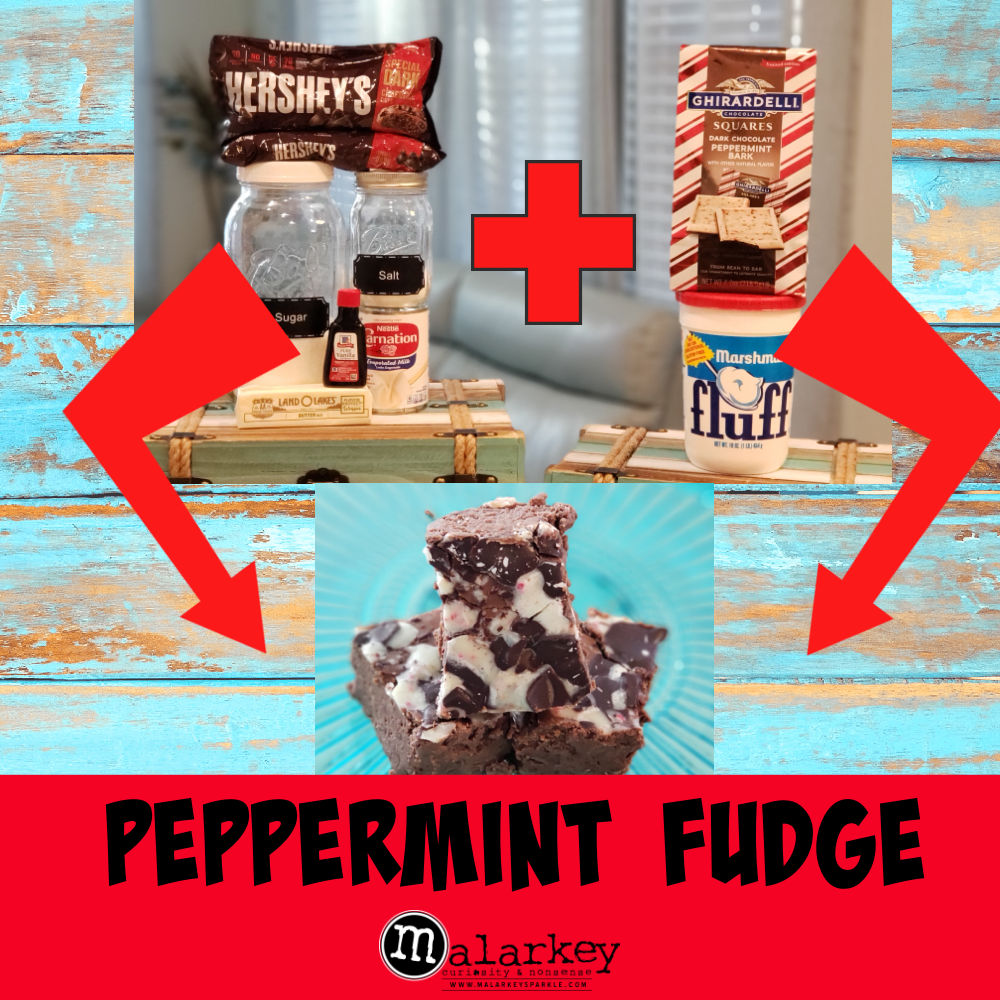
Keep Scrolling for fabulous clay links as well as some holiday themed recipes!
What We’re Doing
So, every other month I organize a Virtual Movie Night for my friends! Since we can’t actually go out and see eachother at school and such, this is a way we can hang out while being safe. For the first one, we watched Forrest Gump as a positive start to the school year. In October (for my birthday) we watched Clue (1985). Both events went great! Along with organizing the movie, I also put together a little basket with snacks, trinkets, themes from the movie! For the Clue Basket, I assigned everyone a character (Mrs. Peacock, Mr. Green, etc.) and I included a hat of that color, and a game piece pertaining to the weapon that character used!
Check out the video below.
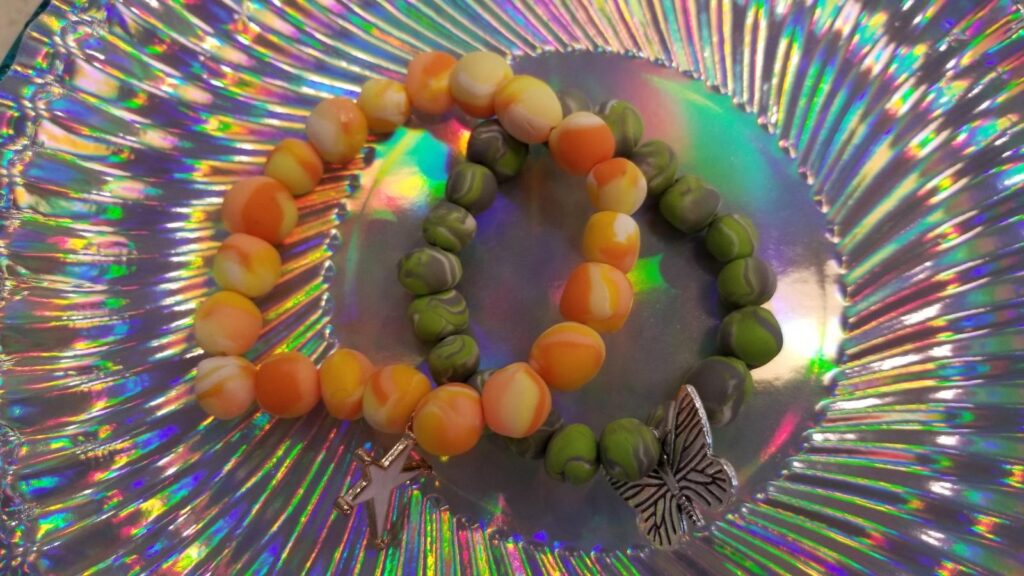
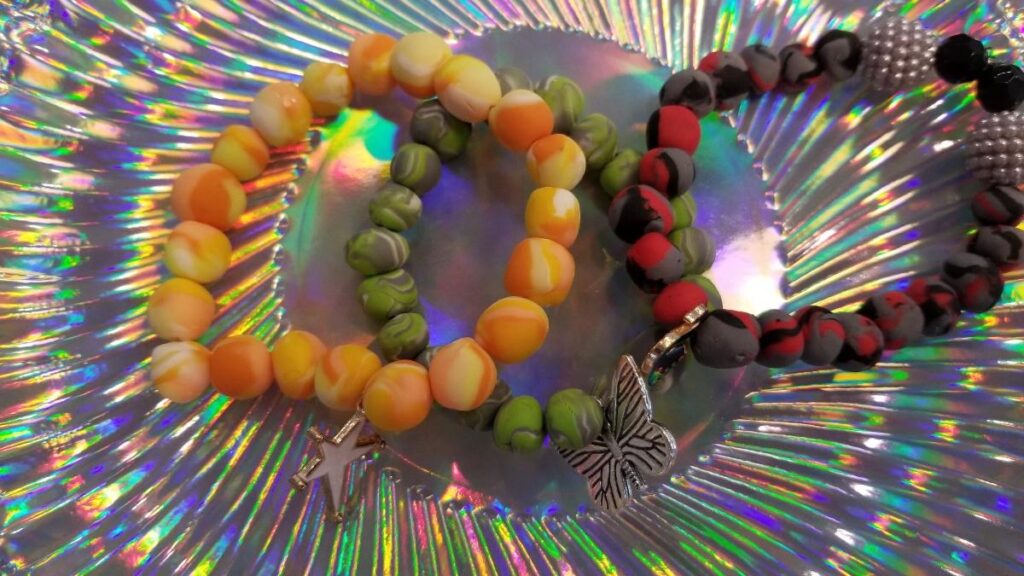
As I mentioned in the last entry, I am making our December Basket for the Christmas- Themed Movie! (TBA). Last time, we made Snow Globe Ornaments! This time, however, we’re creating a different part of the basket- Clay Beads! I will use these beads to make bracelets/keychains for all my friends! The process takes a while, however, it is really easy. Read on, and watch the video- I’ll walk you through it step by step!
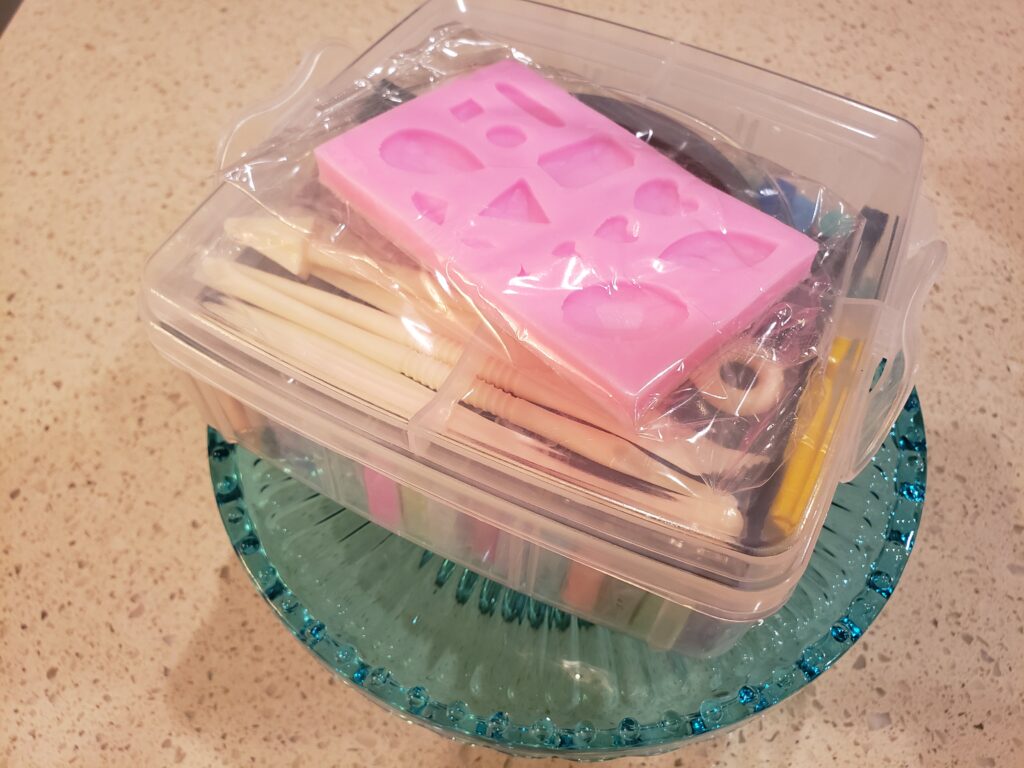
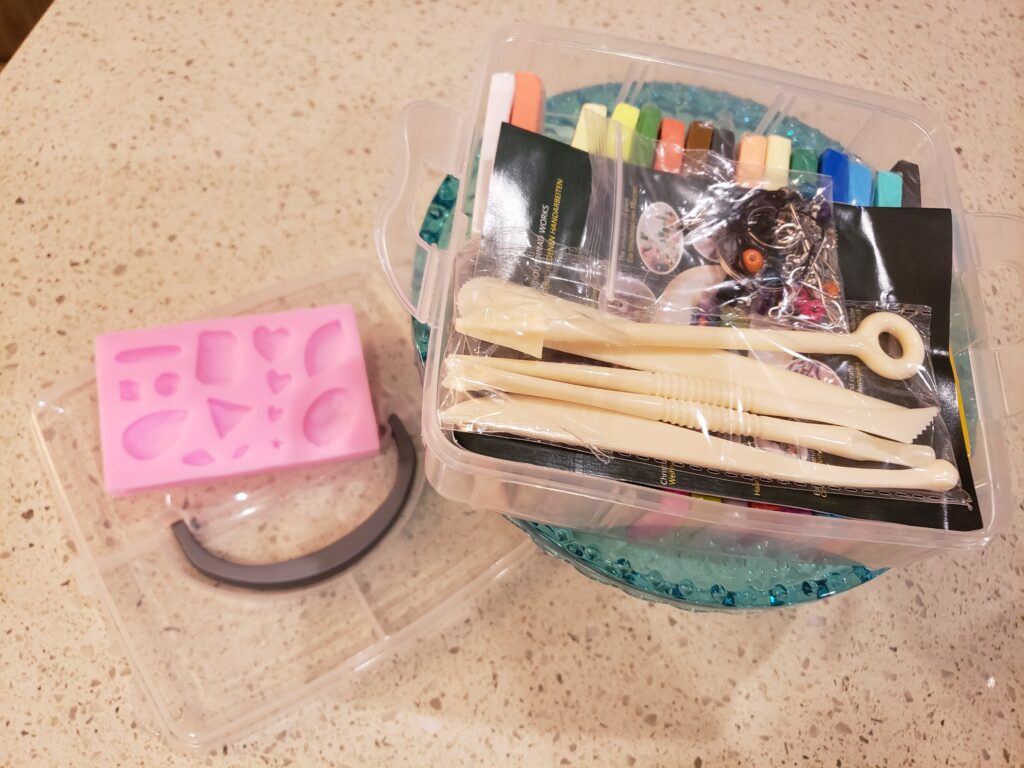
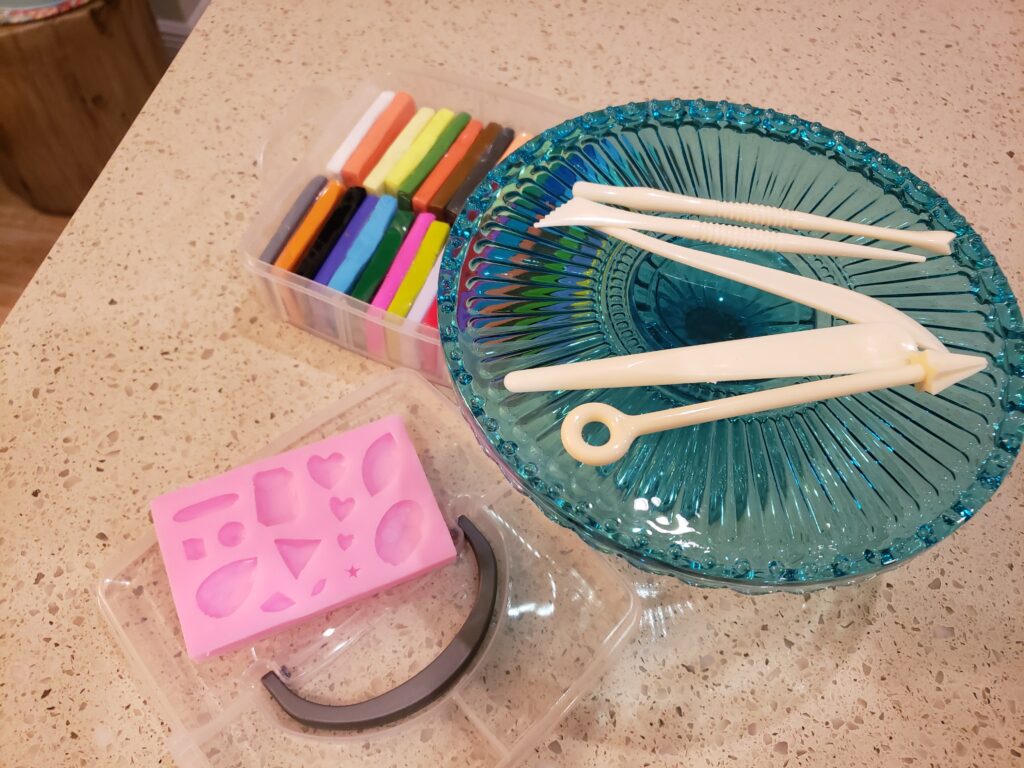
Materials
Okay, so for this craft, you’re going to need a lot of creativity. The materials listed will get you started on the right track!
-Oven Bake Clay (You need to use clay you can cook in the oven. Regular modeling clay will NOT work for this project.)
-Elastic String (You will need this when putting the final piece together. Whether you’re making a keychain or a bracelet, an elastic string will give you the freedom to stretch!)
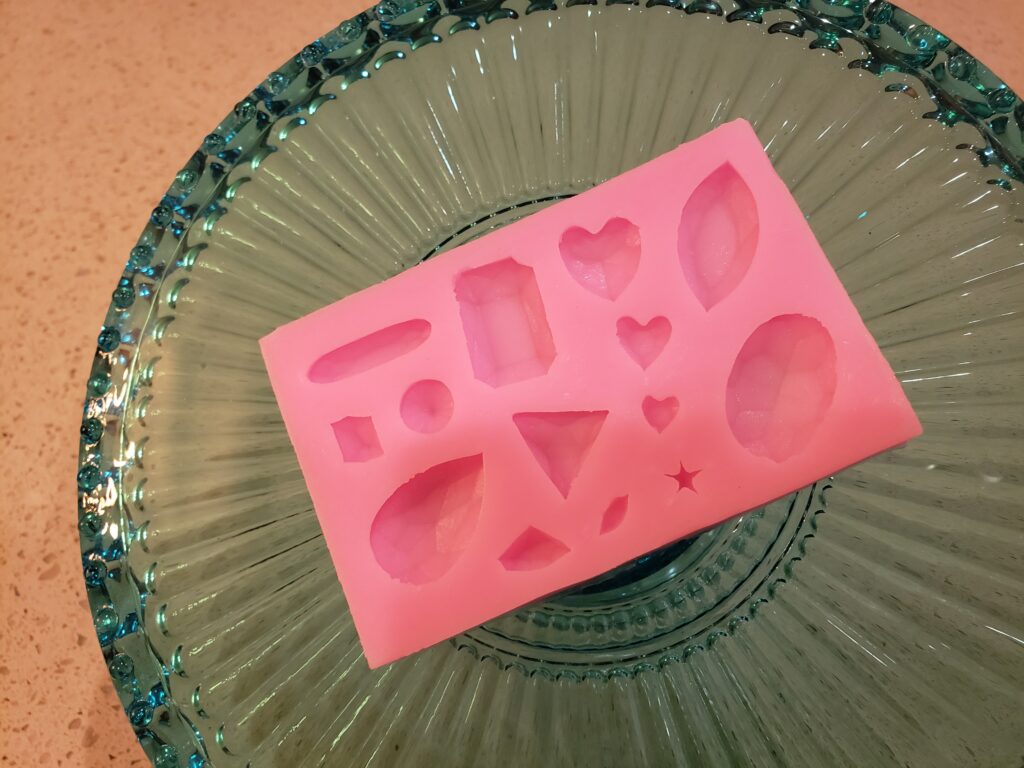
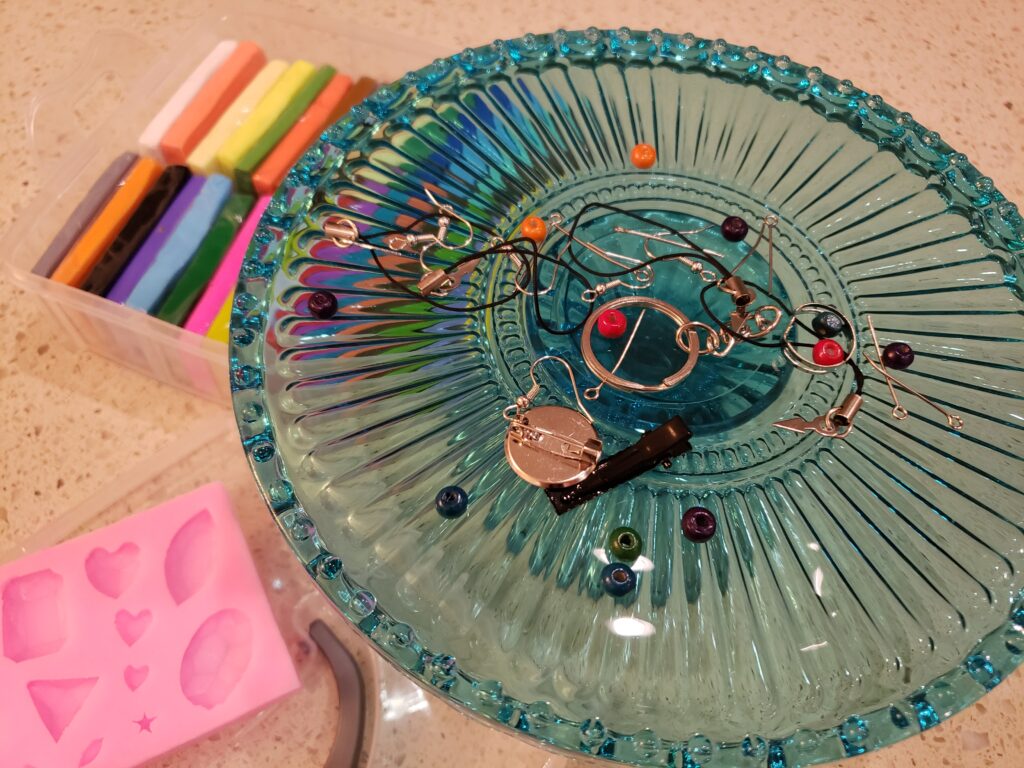
-Charms (You can make this project without charms, but adding one will make it more personal and creative, and overall just make it look more finished.)
-An Oven (You need this to harden the clay. You have one in your house, right..?)
-Clear Nail Polish (This will help to seal your bracelet so it does not break apart. Hot glue will melt the string, while clear nail polish will just keep it together.)
-Clay Tools (You will use these to shape your clay.)
-Paperclip (You DEFINITELY need this. Using the paperclip, you will be able to poke holes in your beads to string them together.)
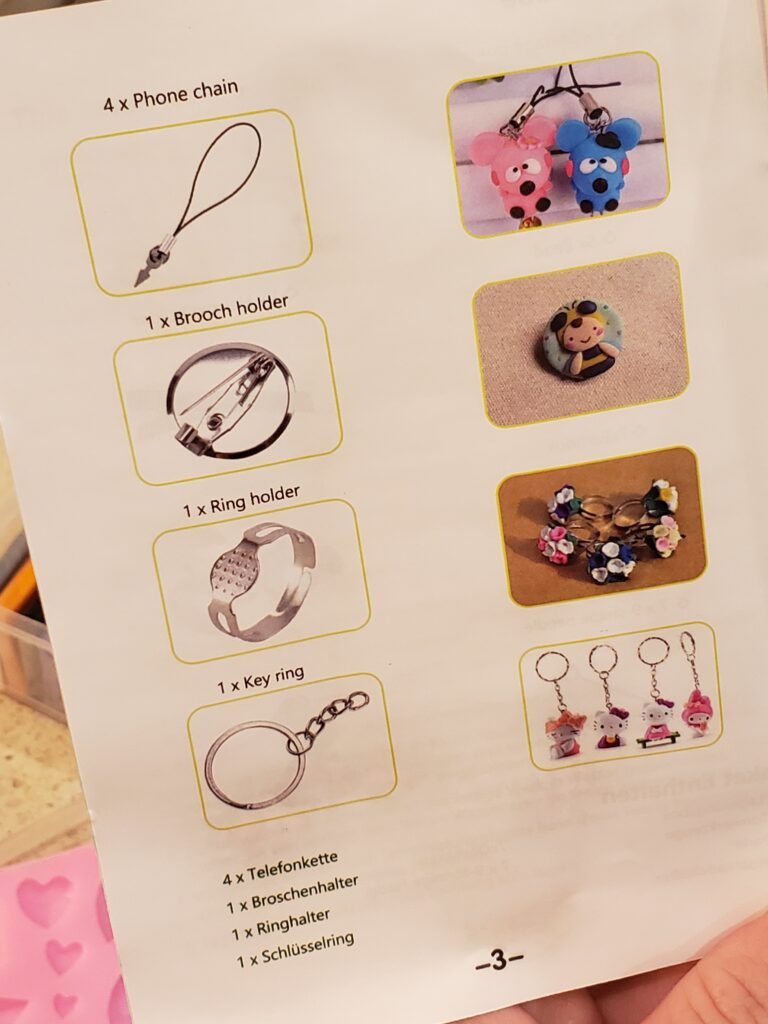
-OPTIONAL: Keychain Piece (If you are going to be making a keychain, you will need a keychain piece.)
Instructions
In this project, a lot of what you do is based on YOU! Tap into your creative side as we create this together!
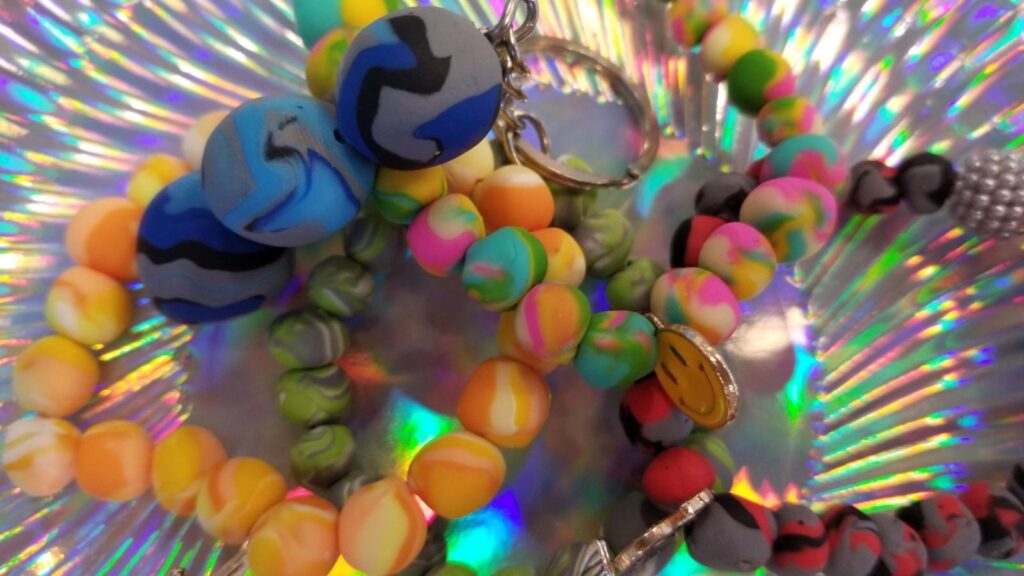
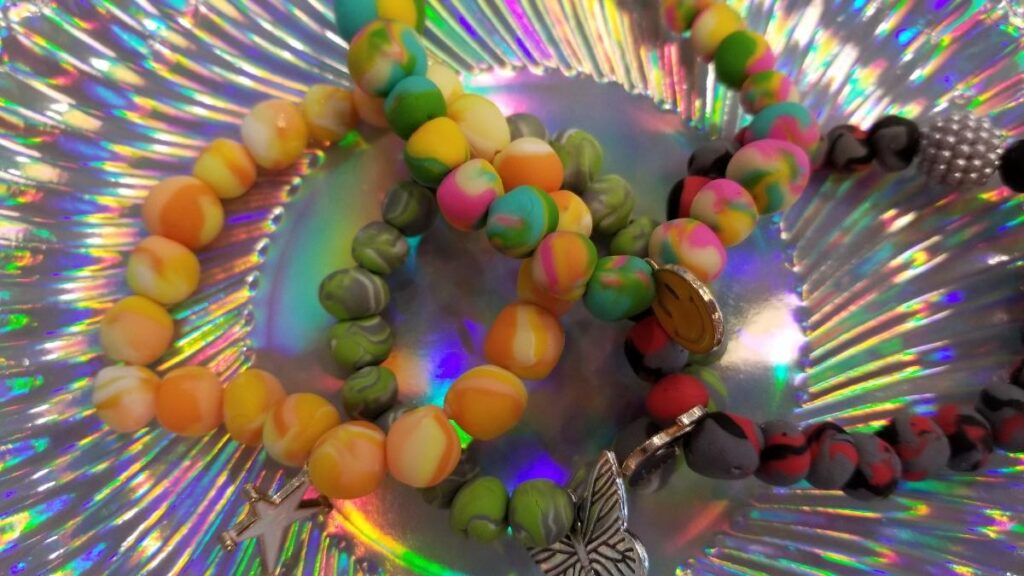
- Select your clay colors. This is the most important step, as the colors you choose will affect the way your beads look. I recommend choosing colors that compliment each other. I have found that yellows, oranges, and pinks look very good together. As do teals, purples, and blacks. Using a lot of colors will help create diversity in your beads, so be sure to use at least three.
- Once you have chosen your colors, use your clay tools to chop off the bits of clay you will be using. If you are using less than 5 colors, be sure to chop off larger pieces. The more colors you use, the smaller the pieces you need to chop off.
- Roll all of your chopped-off bits into balls. Keep ‘em smooth!
- Roll all of the balls into long noodles. Don’t roll them too thin, or your clay will break! Keep all the noodles the same size.
- Line up all the noodles, and twist them together. This part is a bit hard to explain, but it should look a bit like a candy cane (but not smoothed out yet.)
- Roll your twisted clay into a ball. I recommend clumping the clay together first, and then rolling it out.
- Roll your new, colorful ball into a long noodle. Keep it kind of thick. The thickness of this noodle will be the same as your beads. Tread carefully!
- Using a knife-like tool, chop your noodle into bits (like a hot dog.) The amount of bits you have will be the amount of beads you have, so plan accordingly.
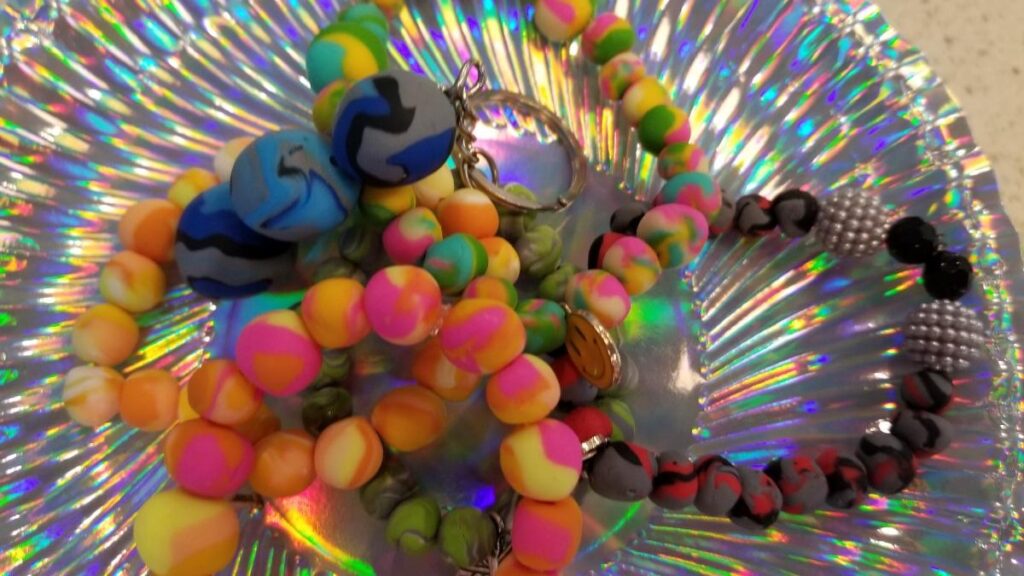
- Roll each bit into a ball, or whatever shape you want your beads to be. I recommend spheres, as they are the most universal. But I once made a bracelet with all different shapes- triangles, squares, and even little noodles! If you are a beginner, though, I suggest starting with spheres. If you want to make a keychain, cut larger amounts of clay.
- Okay, this part is pretty important. First, take your paperclip and bend out the side. Use that to poke holes in each of your beads. Make sure there is no excess clay in the holes, as that will block the string from going through. And once it’s cooked, it’s done, so now is the time to make sure it’s working. Hold the bead up to the light to make sure you can see all the way through it. If you can, you’re golden! Be sure not to make your holes too big. The size of the paperclip’s wire is a good baseline.
- Once you’ve poked holes through all the beads, you’re ready to cook! Your clay set will have different instructions based on the brand. But the general temperature to set your oven at is usually from 250-275 degrees fahrenheit. My clay calls for me to set it to 250, so that’s what I did. You should cook your clay using the time table in your instructions. I put mine in for 30 minutes, checking in on them frequently. The last thing you want is to have burnt beads after all that hard work! One time, I set my oven to 375 instead of 275, and all my clay was burnt to a crisp! I had to re-make it all. Be careful during this step!
- Stick your clay in the oven and be sure not to burn yourself! I’ve done that before. It was… not fun. I don’t recommend it.
- Once your clay is finished, let it cool! If you check your clay as soon as it comes out, it will feel a little squishy still. This is because it is still cooling. Give it about 20 minutes.
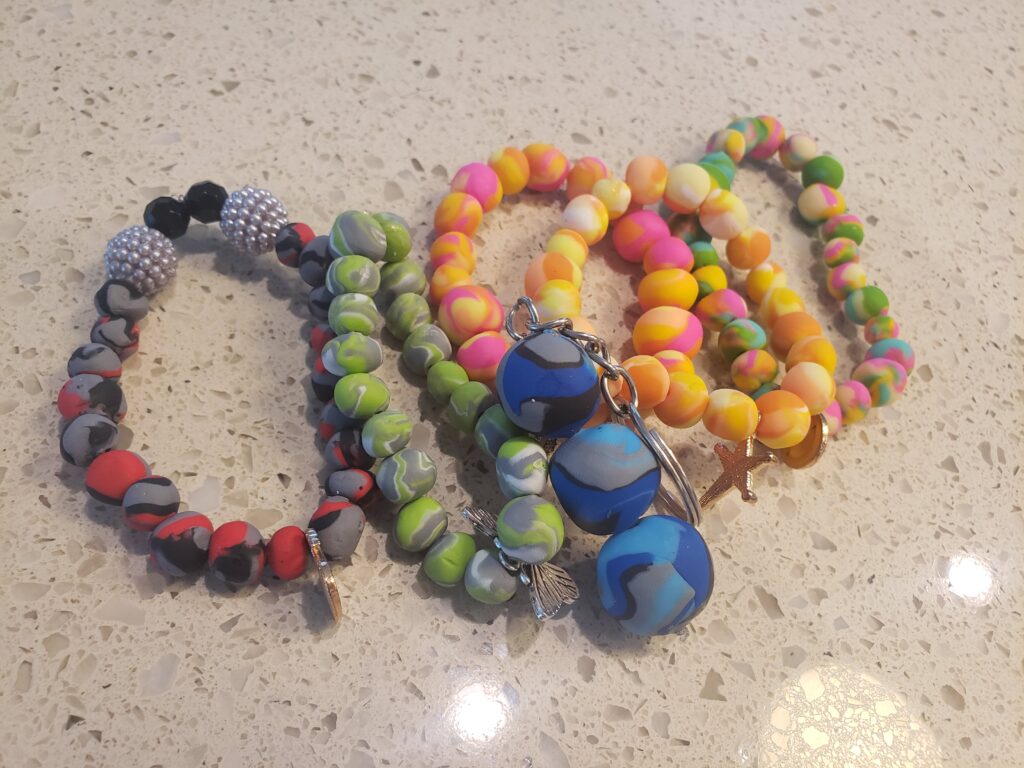
- Now that your clay is finished, you can start making it into things! Below, I’ll show you how to make a bracelet and a keychain.
Bracelet
- Cut the desired amount of elastic string. Larger wrists will need smaller amounts of string, smaller wrists will need smaller amounts of string.
- Tie a knot at the end of your string. That way your beads won’t slide off when you’re adding them.
- Line all your beads up, so you know how many you’ll be using. If you’re including a charm, place it in the middle of this so you know how many beads to string before you add it.
- Start stringing your beads! If the end of your string is tied in a knot, you will easily be able to slide the beads on.
- Tie your ends together. Make sure you tie them tightly!
- Get your clear nail polish, and paint it over the knot between your two ends. Although this is a weird method, it is proven to help seal the bracelet so it doesn’t break.
- Once the polish has dried, trim any excess string.
- Bam! Now you have an awesome bracelet!
Keychain
- First, cut off the desired amount of string. You will not need as much as the bracelet.
- Tie the end of the string in a knot. This will prevent the beads from sliding off of the keychain.
- Slide your beads on to the string. If you want to add a charm, drop that on first.
- Tie the keychain piece onto the top once you’ve used all your beads.
- Time to break out the clear nail polish! Paint it over the knot on the bottom, and the knot connecting the keychain piece.
- Once it dries, trim off any excess string.
- BAM! You have an awesome keychain!
Final Thoughts, Tips, and Suggestions
-These make great gifts! Although they’re easy to make, they look so professional. They’re loved by children and adults alike!
-When you apply the clear nail polish, do it in a bathroom or room with a fan. It can get smelly, and you don’t want it stinking up the house!
-You can even add glitter to your clay to make it sparkle!
Stay Tuned!
Thanks so much for reading this blog entry! Remember to like, share, and subscribe so you can see things like this every day! Stay tuned for the next part of DIY Christmas Gifts…

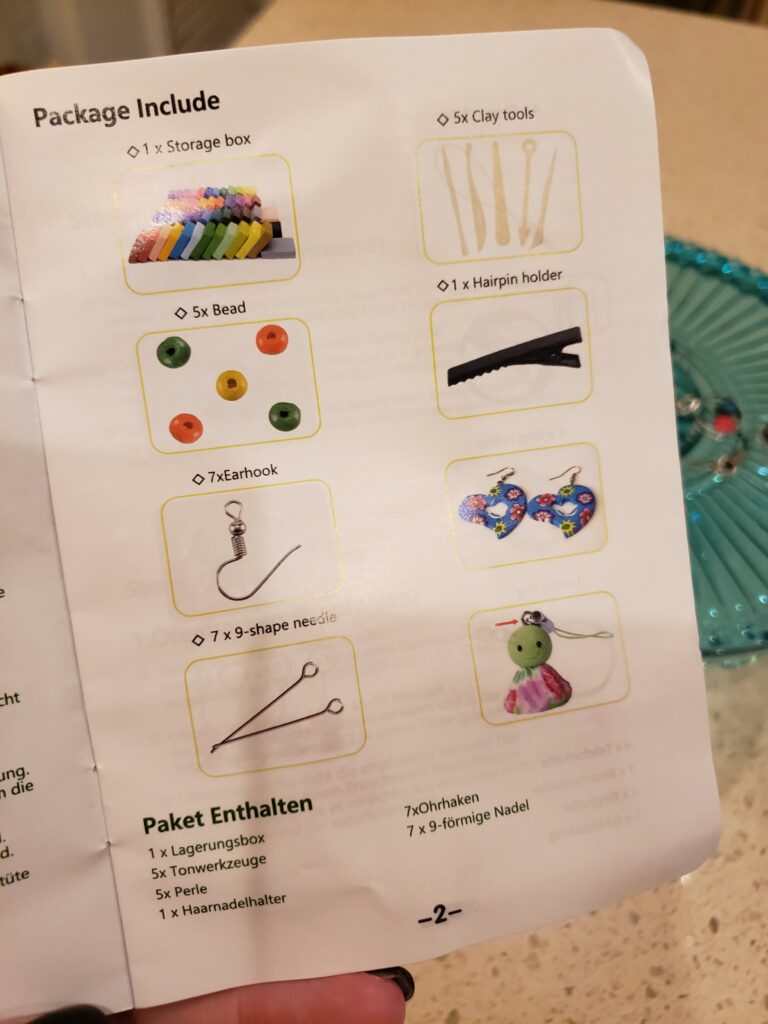
Check out these great clay kits!!!
This is the clay set we purchased and we LOVE IT!!!

Inspiration, Motivation and Coffee are great ways to start the day!
These are updated through the week with a little life, interesting grocery finds, Holidays, Reviews, National Days, Recipes and everything in-between.
Check back everyday for more malarkey morning moments…. click the button

Check out these other recent articles… some great ideas and products for the holidays!


Loosing Weight BEFORE the HOLIDAYS!
I am on a mission to drop the weight I gained after the summer and before the holidays. Challenging myself to do it before Thanksgiving and holding myself accountable by vlogging it. Follow my journey.
*side note – not selling anything
Check out this NEW event @ Gaylord Palms resort…. NEW EVENT

Loosing Weight… Making a U-Turn and getting in shape before the holidays

ZERO F***S. This would be my number one parenting advice. Listen and gather the advice of others but you need to do what works for your family… you do you. Stay strong and figure it the f*** out! Subscribe to the blog – today!
Follow us as we celebrate life…
My name is Tabitha and this blog is about my family and our life. We are always looking for inspiration and nonsense to keep us going… one day at a time… one celebration at a time. I am just another mama with no sick days and no days off trying to juggle family, life, wellness, getting dinner to the table while raising good humans and staying mentally sound.
Stop by the blog in the morning for cup of inspiration.
amazon affiliates may receive some pennies if you order through the links… but you my dear are charged no additional fees… so order away!